
Add custom fields
Manually add custom fields
By default, connectors only include the standard fields that an application uses. If you need to work with additional fields in the application, you can add custom fields to the connector.
Access connector settings
There are multiple ways to access a connector’s settings:
From the template builder, select the application connector to expand it and then select Settings.
From the Cyclr console, select Templates > Template Connectors from the menu, and then select the Edit button next to the Connector you want to edit.
Add/update fields
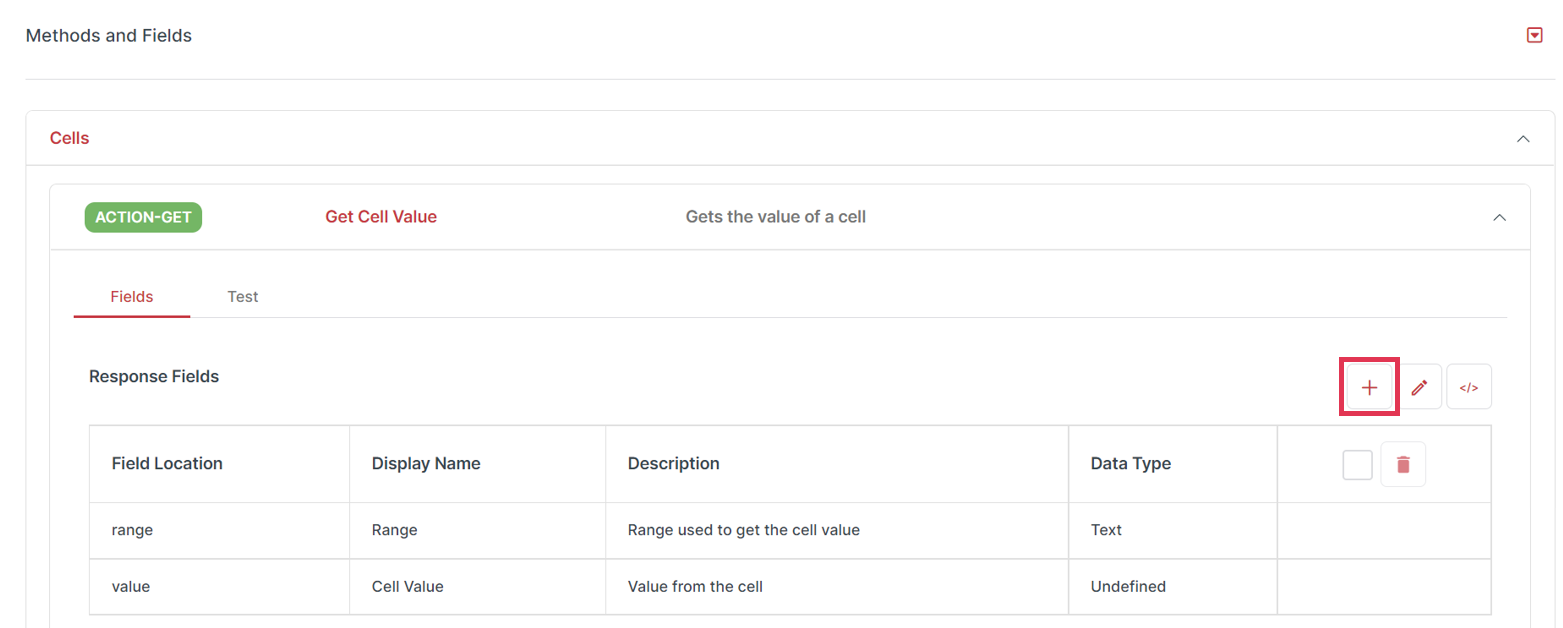
In the section named Methods and Fields, select the category you want to use to expand it, and then select the method you want to add fields to.
Under Request Fields or Response Fields (depending on whether you’re sending or receiving the field), select the + button to add a field.
Specify the following values:
Property | Description |
|---|---|
Field Location | This is the field name as used by the API. Often this is just a case of copying the syntax of the existing fields. |
Display Name | This is the “friendly” name as it will be shown in the user interface. |
Description | You can optionally describe the field and provide documentation, for example how it is used. |
Data Type | You can optionally define a data type for your field. If it is datetime then add the subtype to allow for type conversions between different standards. Read more about data types |
Example field locations
If you only have a few fields, such as in the example response below, you can add the fields manually.
{
    "customfields":[
        {
            "first_name":"John",
            "last_name":"Smith"
            "address":{
                "city": "London"
            }
        }
    ],
    "total_records": 23
}
For this example, the field locations for those properties are as follows:[customfields].first_name[customfields].last_name[customfields].address.citytotal_records
If you have a large number of fields to add, you can automate the process using a sample of the data, as described below.
Use JSON to add fields
If you have a JSON example of the request or response, you can use the JSON to auto-add additional or custom fields:
Select the magnifying glass icon from either the request or response area, dependent on where you want to add the fields.
Paste the JSON example into the popup window that opens.
This adds any fields that don’t already exist, but you might still need to check over the field names and data types that are automatically generated.
Note: Before you paste in a large JSON example, ensure that it only contains properties that you want to add as fields.